
How to Grow a Spider Plant: 7 Simple Steps for Success
Table of Contents
Ever walked into a room and felt instantly calmed by a lush, cascading spider plant? These incredible indoor plants have a magical way of transforming living spaces into green sanctuaries. As someone who’s nurtured countless houseplants, I can tell you that spider plant care is an incredibly rewarding journey.
Spider plants (Chlorophytum comosum) are the superheroes of indoor plants, offering both beauty and resilience. Whether you’re a seasoned gardener or a complete beginner in houseplant care, these versatile plants will quickly become your favorite green companions.
Growing spider plants isn’t just about decoration—it’s about creating a thriving ecosystem right in your home. With the right knowledge and a bit of patience, you’ll soon have a stunning, healthy spider plant that purifies your air and brings life to any room.
Key Takeaways
- Spider plants are low-maintenance indoor plants perfect for beginners
- They can grow up to 1-2 feet tall and wide
- These plants are excellent air purifiers
- They thrive in bright, indirect sunlight
- Propagation is easy through plantlets or “pups”
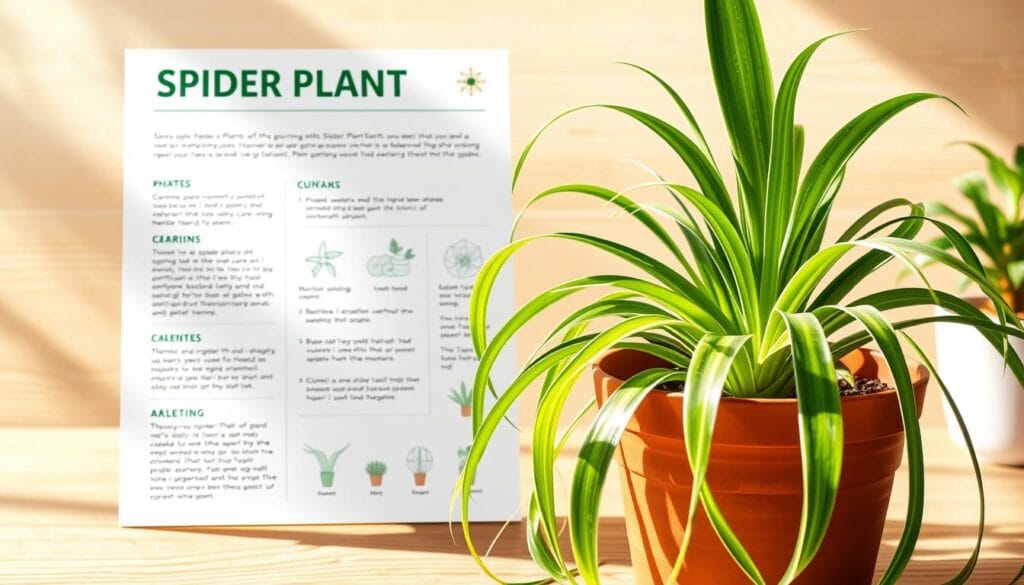
Understanding Spider Plant Basics
Chlorophytum comosum, or the spider plant, is a fascinating houseplant. It has a rich history and amazing traits. Since the late nineteenth century, these plants have won the hearts of many plant lovers around the world.
Spider plants come from southern Africa. They have unique growth patterns that make them great indoor friends. Their leaves form beautiful rosettes that can grow up to 2 feet tall and wide. This creates a stunning cascading effect in any room.
Native Habitat and Natural Growth
Spider plants come from Africa’s tropical and subtropical areas. This is why they love warm, indirect light and moderate humidity. Their ability to adapt makes them very hardy houseplants that do well in many indoor settings.
Spider Plant Varieties
- Variegatum: Features white-edged green leaves
- Vittatum: Has a central white stripe
- Solid green varieties (less common)
Interestingly, variegated spider plants show off bolder stripes in brighter light. This makes them not only dynamic but also very attractive.
Benefits of Growing Spider Plants
These amazing spider plant varieties bring many benefits to indoor gardeners:
- They are excellent at purifying the air
- They are safe for pets
- They are easy to propagate
- They require very little care
Scientific studies show that spider plants can purify up to 80 square feet of indoor space. They can remove formaldehyde up to 90% and xylene up to 85%. This makes them very valuable for any home.
Ideal Growing Conditions for Spider Plants
To grow a spider plant well, you need to know what it likes. These plants are tough and can do well in many homes.
Light is key for spider plants. They like medium to bright, indirect light. A spot near a window with filtered light is perfect.
- Temperature range: 65°F to 75°F (ideal growing conditions)
- Hardiness zones: Best suited for USDA Zones 9-11
- Light preference: Bright, indirect sunlight
Spider plants like a steady temperature. They can handle 50°F to 85°F, but they grow best in a smaller range. Big changes in temperature can hurt them.
“Stable environmental conditions are the secret to a thriving spider plant.” – Plant Experts
Humidity is important for spider plants. They like a humidity of 25% to 49%. Most homes have this level naturally. If your home is very dry, misting now and then can help.
| Growing Condition | Optimal Range |
|---|---|
| Temperature | 65°F – 75°F |
| Humidity | 25% – 49% |
| Light | Bright, Indirect |
By following these growing tips, you’ll have a happy, healthy spider plant. It will add beauty to your home for a long time.
Creating the Perfect Spider Plant Environment
To make your spider plant happy, focus on a few important things. It needs a balanced home that feels like its natural habitat.
Humidity is key for your spider plant’s health. These plants do well in certain conditions that you can set up at home.
Temperature Requirements
Spider plants like it when it’s not too hot or too cold. They do best between 55°F and 80°F. Make sure they’re not near cold spots or extreme heat.
- Optimal temperature range: 55°F to 80°F
- Avoid placing near air conditioning vents
- Protect from cold windows during winter
- Maintain consistent room temperatures
Humidity Levels
Spider plants love a bit of moisture in the air. Aim for 50-60% humidity to keep them looking great. Dry air can make them stressed.
- Use a room humidifier to increase moisture
- Place a pebble tray with water near the plant
- Mist leaves occasionally to boost humidity
- Group plants together to create a microclimate
Air Circulation Needs
Good air flow is vital for your spider plant. It helps prevent diseases and encourages growth. Make sure it gets gentle, steady air.
- Place near a fan on low setting
- Avoid stagnant, closed spaces
- Ensure open windows provide gentle breeze
- Rotate plant periodically for even air exposure
Pro tip: Keep an eye on your spider plant’s environment. Make small changes to keep it just right.
Soil and Potting Requirements
Choosing the right potting soil is key for spider plants to grow well. These plants love a soil mix that drains well, just like their home in Africa. A good potting blend gives them the nutrients and drainage they need.
For the best soil for spider plants, focus on these elements:
- Regular potting soil as a base
- Perlite for better drainage
- Coarse sand to improve soil structure
- Peat moss for keeping moisture in
Success with spider plants comes from using a soil that drains well. They do best in a slightly acidic to neutral soil, with a pH of 6.0 to 7.0. Make sure your pot has holes to avoid root rot.
Choose a pot that’s just a bit bigger than your plant’s roots. Ceramic or terracotta pots are great because they help control moisture and breathe well. Repot your spider plant every 1-2 years to keep the soil fresh and support growth.
Pro tip: Mix your own well-draining soil by combining equal parts potting soil, perlite, and sand for the perfect spider plant growing medium.
Stay away from heavy, dense soils that can harm roots and cause moisture problems. With the right soil, your spider plant will thrive, showing off its vibrant green leaves and producing many plantlets.
Light and Location Selection
Choosing the right light and spot is key for your spider plant’s health. These plants love specific light, just like their natural home. Knowing what light they need helps you make the best spot for them.
Indoor Light Requirements
Spider plants do best in bright, indirect light. Place them near windows with filtered sun. Good spots include:
- East-facing windows with gentle morning light
- North-facing windows with consistent, soft illumination
- Rooms with sheer curtains to diffuse direct sunlight
Outdoor Placement Options
For outdoor spots, pick partial shade. These plants can handle some outdoor, especially in zones 9-11.
| Location Type | Light Conditions | Suitability |
|---|---|---|
| Patio | Filtered sunlight | Excellent |
| Covered Deck | Indirect light | Very Good |
| Open Garden | Direct sunlight | Not Recommended |
Avoiding Direct Sunlight
Direct sun can scorch spider plant leaves, causing harm. Look out for signs like:
- Browning leaf tips
- Pale or bleached leaves
- Crispy, dry leaf edges
By controlling light, your spider plant stays healthy and beautiful. It will brighten up your indoor or outdoor space.
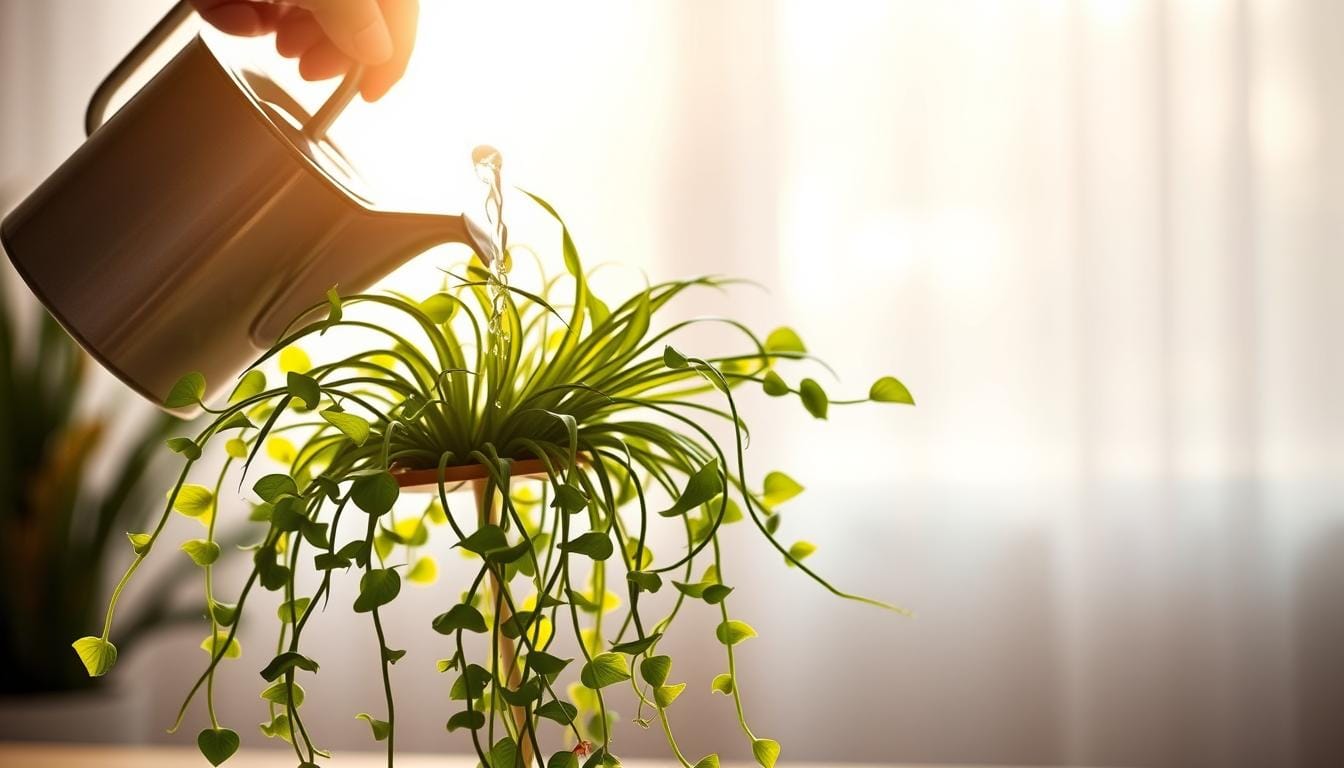
Watering and Moisture Management
Learning how to water spider plants is key to their health. These plants need the right amount of moisture, which can be tricky. Knowing how to water them right will help your spider plant stay healthy.
To find the perfect watering schedule, consider a few important things:
- Check soil moisture with your finger
- Look for signs of too little or too much water
- Change how often you water based on your environment
Not enough water can really stress out your spider plant. Dry, crispy leaf tips mean it’s time to water. Usually, watering every 7 to 10 days is good, but it depends on the humidity and temperature.
Too much water is also bad. Wet soil can cause root rot and kill your plant. Look out for:
- Yellow leaves
- Soft, mushy stems
- Dark brown leaf tips
What water you use is also important. Spider plants don’t like chemicals in tap water. Try using:
- Rainwater
- Distilled water
- Filtered water
Here’s a tip: Lightly mist the soil to keep it moist. This method stops your plant from getting too dry or too wet. It keeps your spider plant happy and healthy.
Fertilization and Nutrient Needs
It’s important to give your spider plants the right nutrients for them to stay healthy and vibrant. These plants need the right food to grow well and stay happy.
Fertilizing spider plants is easy once you know what they need. Just remember to feed them regularly and use the right food.
Types of Fertilizers
Choose fertilizers with a balanced NPK ratio for your spider plants. The best ratios are:
- 20-20-20 balanced fertilizer for overall growth
- 10-10-10 NPK ratio for Curly Spider Plants
- 3:1:2 NPK ratio for enhanced development
Feeding Schedule
The fertilizing needs of your spider plant change with the seasons. Here’s what to do during the growing seasons:
- Fertilize once or twice a month
- Use water-soluble fertilizers
- Apply half-strength solutions to avoid too much
Signs of Over-fertilization
Look out for these signs that you might be giving too much fertilizer:
- Yellowing leaves
- Burned leaf tips
- Crusty fertilizer residue on soil surface
- Wilting or drooping foliage
If you see these signs, wash the soil with water to get rid of extra nutrients. This will help your spider plant get back to health.
Propagation Methods and Techniques
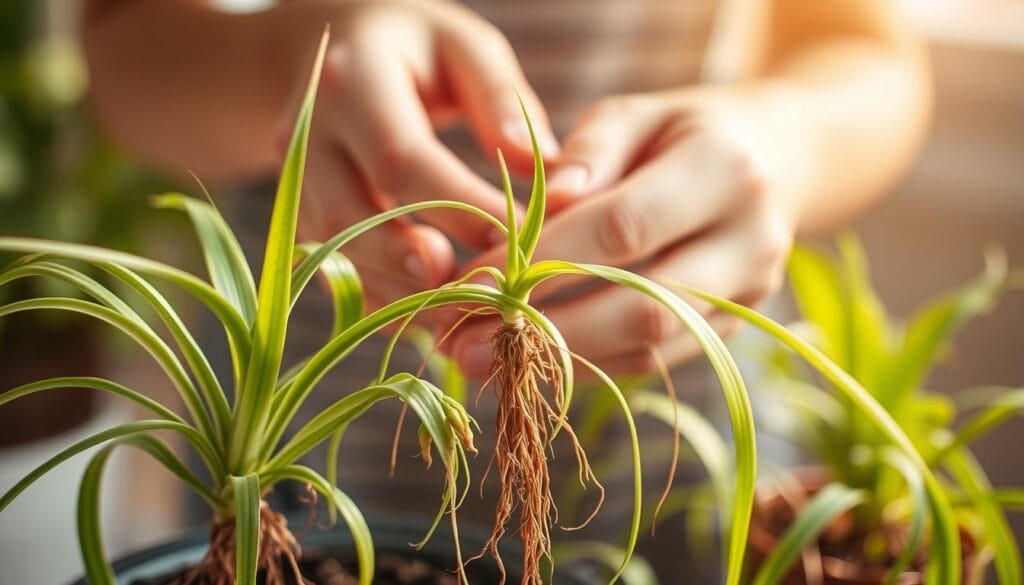
Spider plant propagation is easy and fun for garden lovers. These plants can grow new plants in two main ways: through plantlets and root division. Learning these methods makes growing your indoor garden simple.
Plantlets, also known as spiderettes, are the top choice for growing new spider plants. They grow from the mother plant’s stems. Here’s how to grow them:
- Look for mature plantlets with small roots
- Take the plantlet off the mother plant carefully
- Put the plantlet in water or soil
- Keep it moist until it grows roots
Root division is another great way to grow spider plants. It works best with big, grown plants that have many growth points.
To divide a spider plant, follow these steps:
- Take the whole plant out of its pot
- Use sharp tools to split the roots gently
- Make sure each piece has roots and leaves
- Plant the pieces in new, moist soil
| Propagation Method | Difficulty Level | Time to Root |
|---|---|---|
| Plantlet Propagation | Easy | 1-2 weeks |
| Root Division | Moderate | 2-3 weeks |
Tip: The best time to grow spider plants is in spring and summer. Keep them warm and in indirect light for the best growth.
Common Problems and Solutions
Spider plants are usually tough, but they can face problems that affect their health and look. Knowing how to spot and fix these issues will help keep your plant happy and healthy.
Pest Management for Spider Plants
Pests can harm your spider plant quickly. The most common pests are:
- Mealybugs
- Spider mites
- Aphids
- Scale insects
To fight these pests, try these methods:
- Check your plants often
- Use neem oil for natural pest control
- Apply insecticidal soap
- Keep infected plants separate
Preventing Plant Diseases
Diseases often come from stress or bad care. To prevent them, do these things:
- Keep humidity levels between 40-60%
- Don’t overwater
- Make sure air circulates well
- Use clean potting soil
Addressing Leaf Issues
Brown leaf tips are a big worry for spider plant owners. They can be caused by:
| Cause | Solution |
|---|---|
| Low humidity | Use a humidity tray |
| Tap water fluoride | Use filtered water |
| Nutrient imbalance | Adjust fertilization |
Remember, once leaf tips turn brown, they can’t get better. Cutting off the brown leaves helps your plant look good and stay healthy.
Pruning and Maintenance Tips
Pruning spider plants is key to keeping them healthy and looking good. You should trim your plant at least once a year. Spring is the best time for this.
Remove dead or yellow leaves close to the soil. This stops energy loss and helps new growth.
Wait until spider plant offsets have small roots before separating them. Regular pruning keeps the plant’s size and shape in check. Prune every six months for a neat look.
Watch out for brown leaf tips, which can mean stress. This could be from too much sun, low humidity, or bad water. Carefully trim these damaged areas to keep your plant healthy.
Healthy spider plants will quickly grow back, looking lush and vibrant. Your routine should include gentle leaf cleaning and repotting every 1-2 years. Follow these tips to make your spider plant thrive and add beauty to your indoor garden.
FAQ
What makes spider plants popular houseplants?
Spider plants are loved for their easy care and air-purifying qualities. They look great and produce baby plants that are easy to grow. They’re perfect for anyone, from beginners to experienced plant lovers.
How often should I water my spider plant?
Water your spider plant when the soil feels dry about an inch down. You’ll usually need to water every 1-2 weeks, depending on the humidity and temperature. Make sure not to overwater, as it can cause root rot. Use water that’s at room temperature and free from harsh chemicals.
Can spider plants grow in low light conditions?
Spider plants like bright, indirect light but can handle low light too. In very dim light, they might grow slower and lose some color. But, direct sunlight can burn their leaves.
How do I propagate a spider plant?
Spider plants are easy to spread through their baby plants, or spiderettes. Just wait until they have roots, then plant them in soil and keep them moist. You can also divide the roots of a mature plant to make new ones.
Why are the tips of my spider plant turning brown?
Brown tips can come from fluoride in water, too much fertilizer, low humidity, or uneven watering. Try using distilled water, cut back on fertilizer, boost humidity, and water regularly.
Are spider plants toxic to pets?
Spider plants are safe for cats and dogs. They might upset a pet’s stomach if eaten in big amounts, but they’re generally okay for homes with pets.
How often should I fertilize my spider plant?
Fertilize your spider plant every 2-3 months when it’s actively growing (spring and summer). Use a balanced fertilizer at half the recommended strength. Stop fertilizing in the fall and winter when the plant grows slower.
What type of soil is best for spider plants?
Choose a potting mix that drains well and has good air. A mix of regular potting soil, perlite, and orchid bark works well. Make sure the pot has holes to let water out and prevent root rot.
How do I deal with spider mites on my spider plant?
To fight spider mites, increase the humidity, mist the plant often, and use neem oil or insecticidal soap. Keep the affected plant separate and clean its leaves well. High humidity and good air flow can help stop mites from coming back.
When should I repot my spider plant?
Repot your spider plant every 1-2 years when it’s outgrown its pot. Look for signs like roots coming out of the drainage holes, slower growth, or the plant becoming too heavy. Choose a slightly larger pot to avoid overwatering.
Source Links
- How to Grow Spider Plants – https://www.thespruce.com/spider-plants-chlorophytum-definition-1902773
- Spider Plants Are Low-Maintenance Houseplants Designers Love—Here’s How to Care for One – https://www.realsimple.com/home-organizing/gardening/indoor/spider-plant-care
- Caring and Maintaining a Spider Plant: A Guide to Thriving Greenery in Your Home | Seedling Squad – https://www.seedlingsquad.com/articles-post/caring-and-maintaining-a-spider-plant-a-guide-to-thriving-greenery-in-your-home